
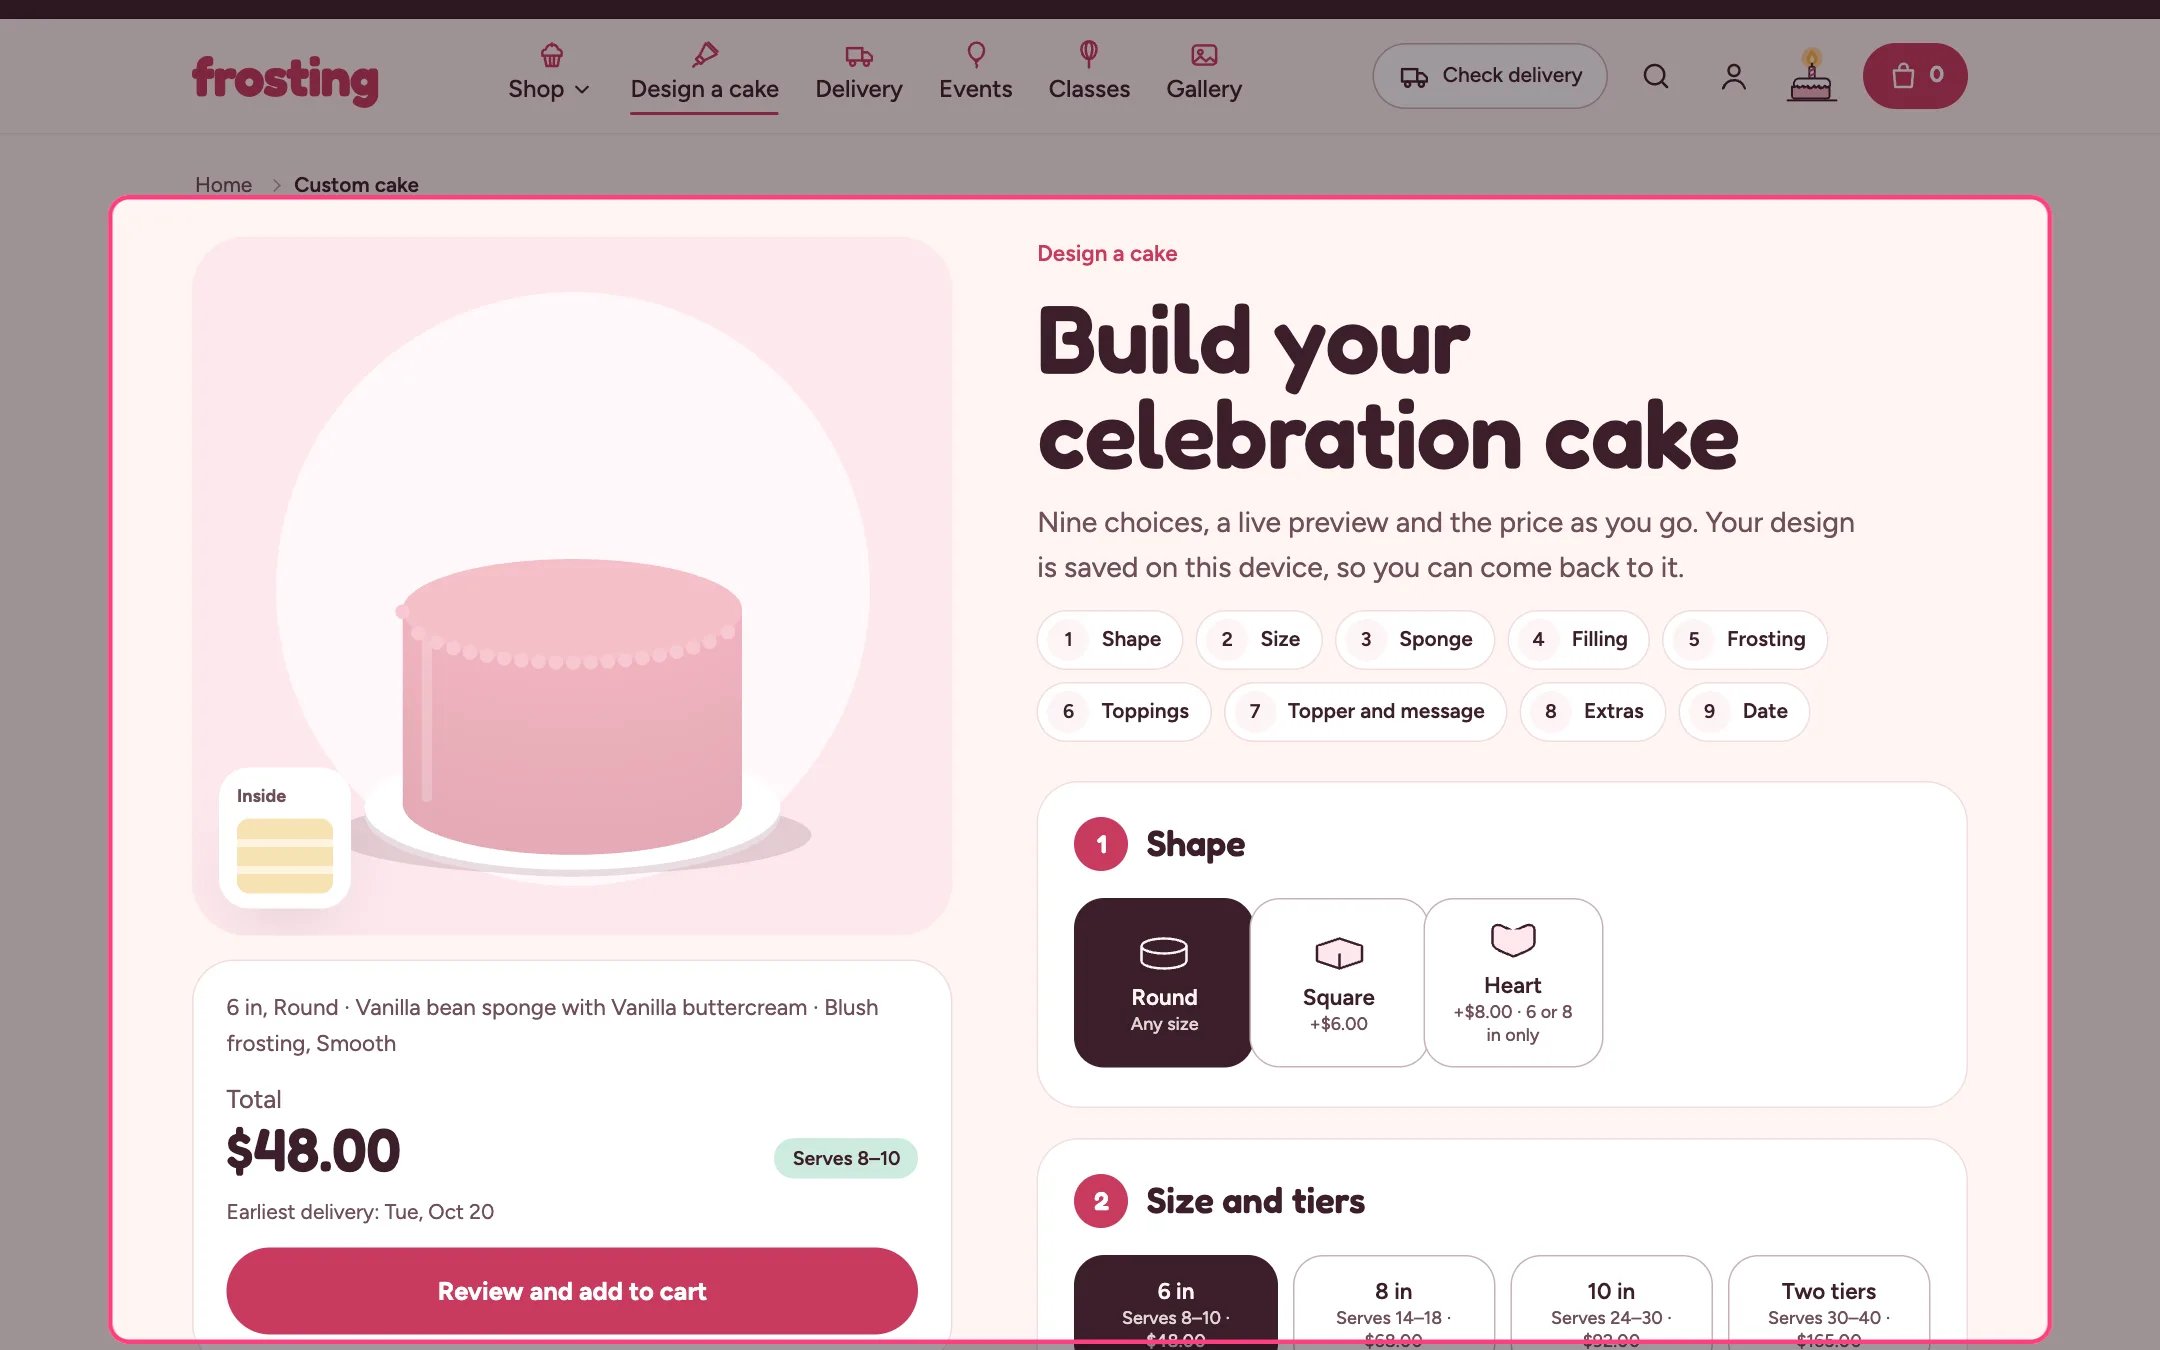
The cake builder

The cake builder on the Custom cake product
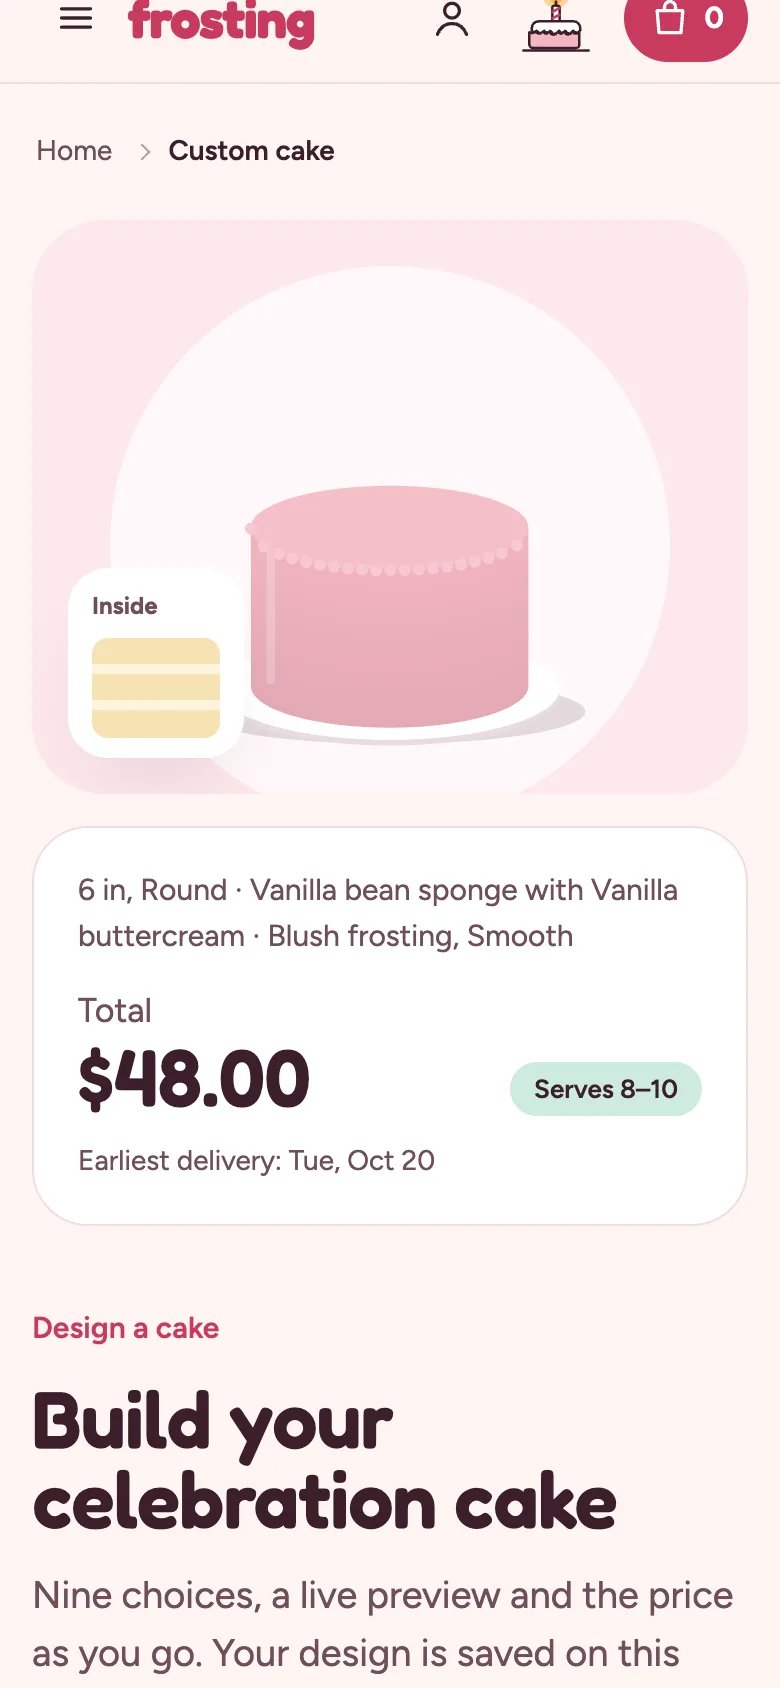
The cake builder on a phone
The cake builder on a phone

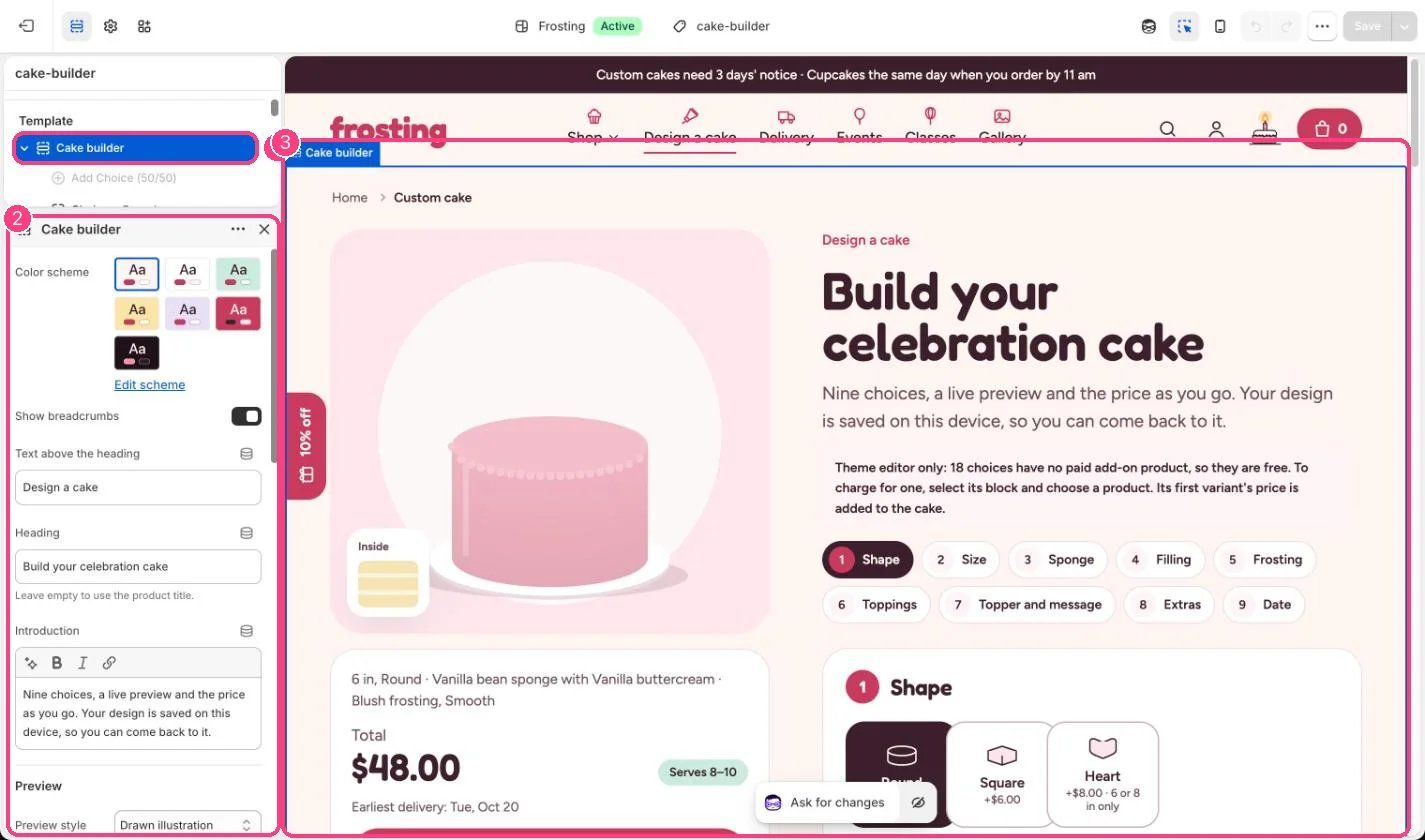
Cake builder settings

1 the Cake builder section · 2 its settings · 3 the preview

The cake builder lets shoppers design a cake in up to nine steps with a live drawing and a running price. It runs on one product page and adds the cake, every paid choice and the delivery date to the cart in one go. 1. Create the Custom cake product. Add a product named, for example, Custom cake. Add its sizes as variants with their base prices, for example 6 in, 8 in, 10 in, Two tiers and Three tiers. Fill in custom.servings on each size, and custom.tiers if the names do not contain two or three. 2. Assign the template. On the product page in Shopify admin, set Theme template to cake-builder and save. 3. Create the add-on products. Make one product for every choice that costs extra, for example a white chocolate drip, macarons, a number topper or a sparkler. Give each a price and keep it available. The builder adds the first variant of each one to the cart, grouped under the cake. 4. Hide add-ons from search. Builder add-ons are price lines, not products to browse. In Settings, Custom data, Products, add a definition named seo.hidden with type Integer. Then set it to 1 on each builder-only add-on. They disappear from search, search suggestions and your sitemap, and the builder still adds them to the cart. Leave extras you sell on their own, such as candles and cards, visible. Keep add-ons out of your browsing collections too. 5. Add the choices. In the theme editor, choose Products, then cake-builder, preview your Custom cake, and select the Cake builder section. Add a Choice block for every option and set its Step:
  • Shape: drawn as round, square or heart; Sizes it comes in limits a shape to some sizes, for example 6 in, 8 in.
  • Sponge, Filling, Frosting color and Drip: set Color in the drawing.
  • Dietary option: Sponges it works with limits the sponges, for example Vanilla, Chocolate.
  • Finish: smooth, ruffles, semi-naked or ombre.
  • Topping: nine drawn types; shoppers pick up to Most toppings per cake.
  • Topper: a sign with your text, a name the shopper types, a number priced per digit, or an edible photo print.
  • Extra: plain, candles, a sparkler, or a card that asks for a message. Standard sponge, No drip and No topper are built in. Up to 50 blocks.
6. Link the paid choices. On each Choice block that costs extra, pick its add-on product under Paid add-on product. Leave it empty for free choices; the editor tells you how many choices are free. 7. Add photos. Give choices a Photo to show it on the option buttons. With Preview style set to Store photos, the preview shows the photo of the latest choice that has one, and shoppers can switch back to the drawing. 8. Notice and dates. Notice comes from custom.lead_days on the size variant, then on the product, then from Theme settings. Tiered sizes without their own value get at least the two-tier and three-tier notice set in the section (default 7 and 14 days). Closed days, closed dates and time windows come from Theme settings, Delivery and pickup. 9. What lands in the cart. The cake shows its choices under the line (Shape, Sponge, Filling, Frosting, Toppings, Topper, Message, Extras, and the delivery or pickup date). Add-ons are listed under the cake and move with its quantity. The delivery method, date and time window are saved on the order. Preset links. Link to a ready-made starting design by adding ?preset= and one of pink-drip, chocolate, garden, wedding, birthday or ombre to the builder address, for example /products/custom-cake?preset=birthday. Presets match your choices by drawing type or by a word in the label, so they keep working when you rename choices.