
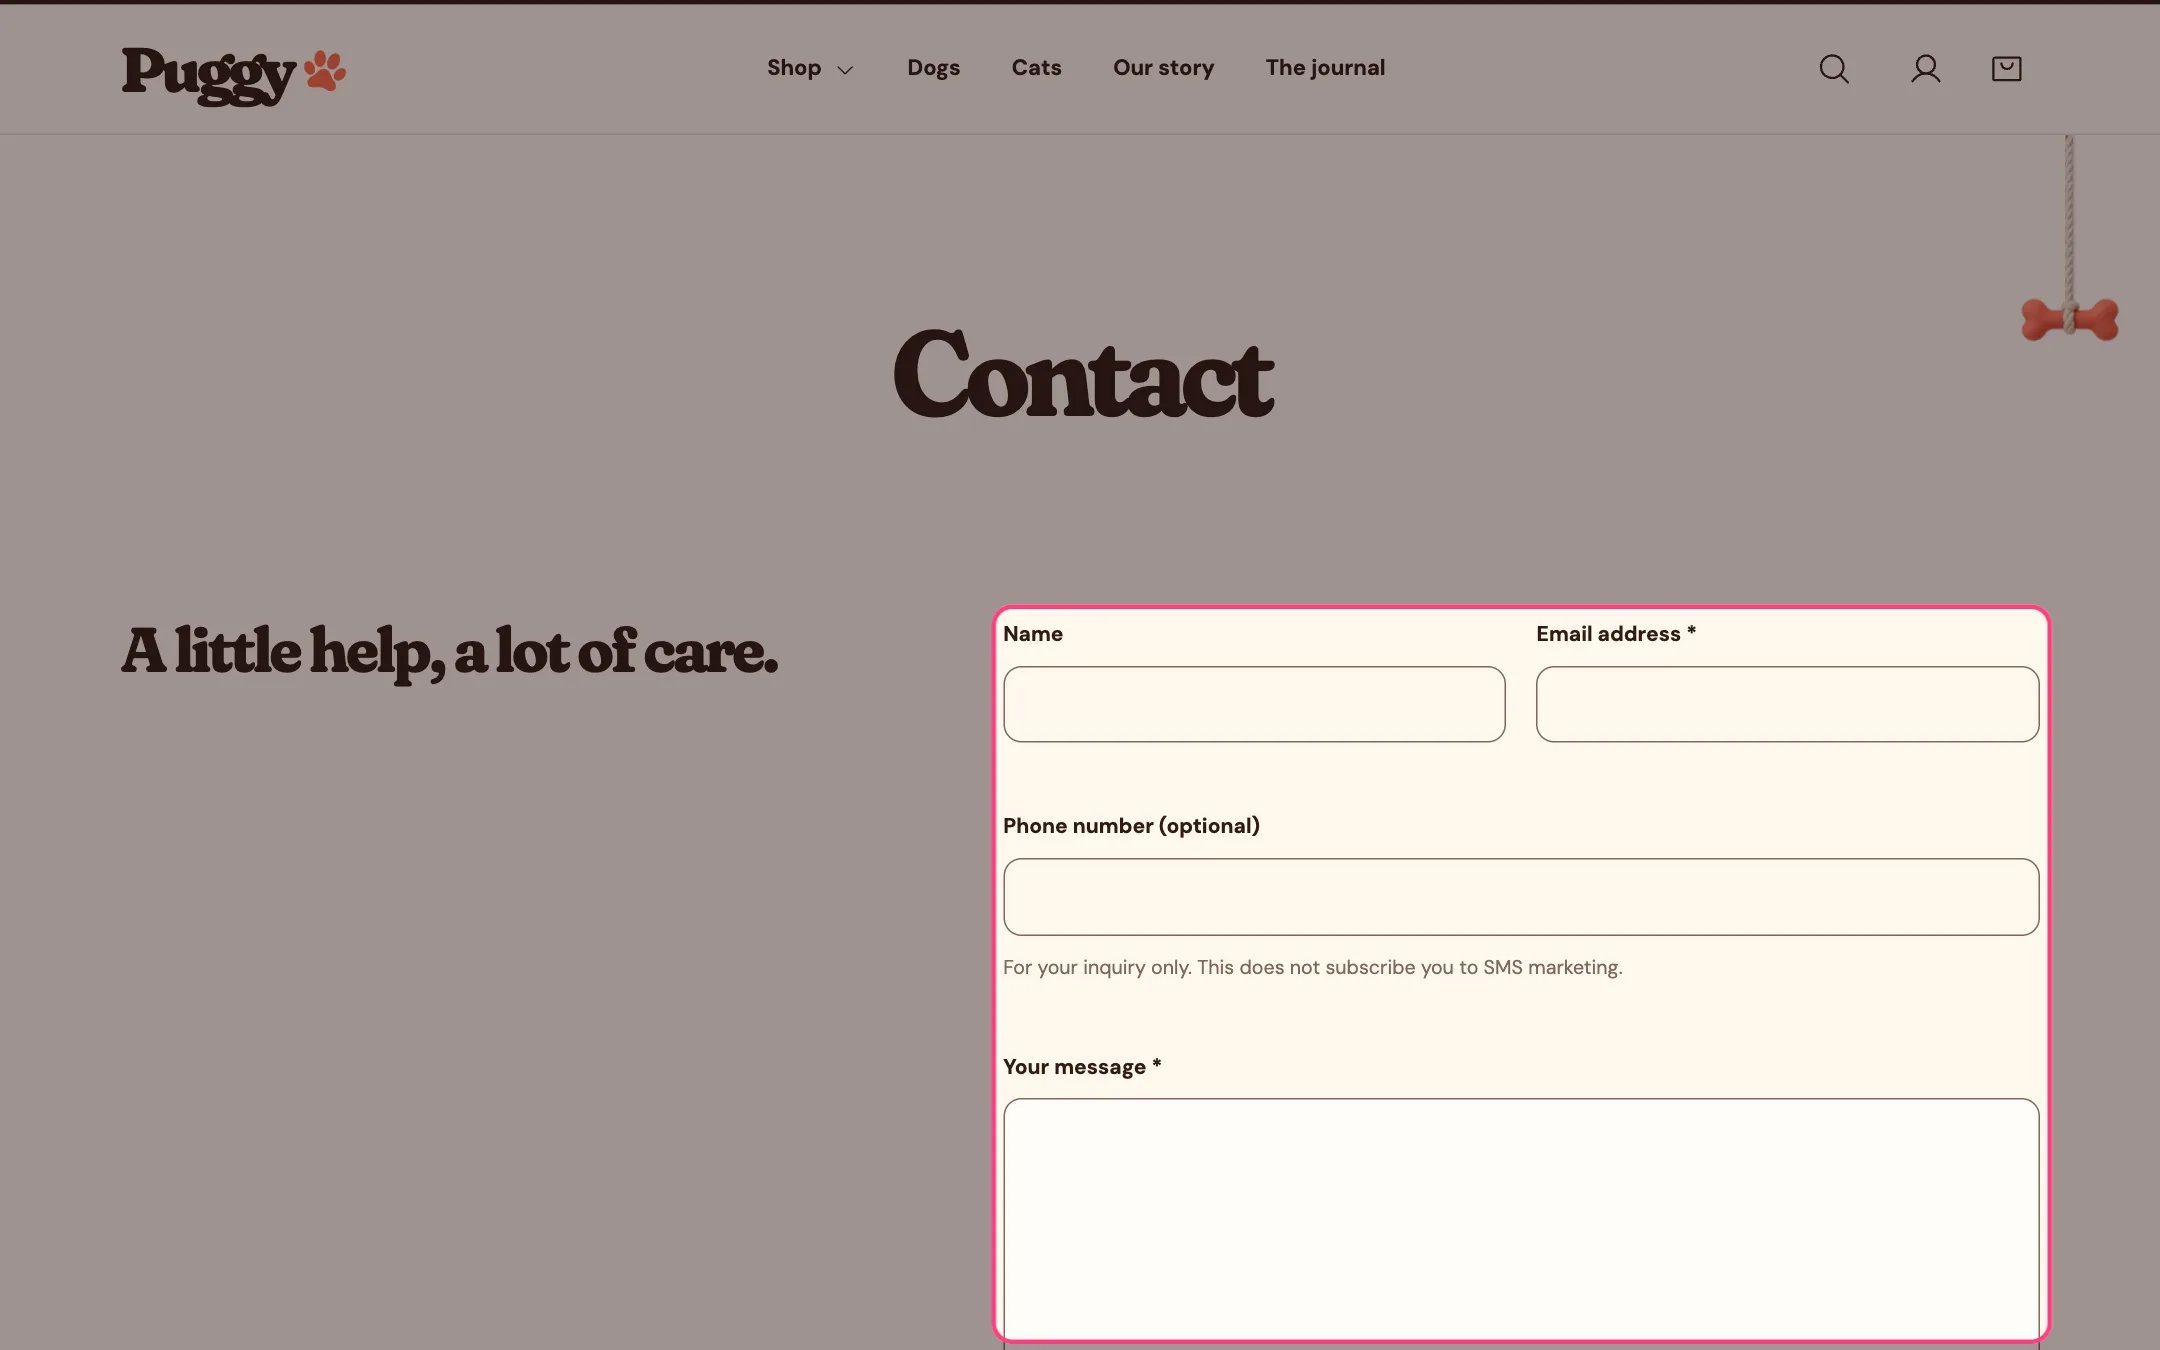
Contact form, highlighted on the demo store
Where to find it
The contact page. Assign the contact template to your Contact page in Online Store > Pages, then choose Pages > contact in the top page selector and select Contact form.How it works
- Always asks for name, email and message (email and message are required), plus an optional phone number when turned on.
- Form field blocks add your own questions: text, email, phone, number, date, paragraph, dropdown or checkbox, each optionally required and with help text.
- Text blocks add a short note between the fields.
- Shopify emails each message to your store, listing every field label with its answer.
- After sending, a confirmation replaces the form. Errors are listed at the top and next to the field.
- Signed-in customers find their name and email filled in.
- The phone field says it is for the inquiry only and doesn’t sign anyone up for SMS marketing.
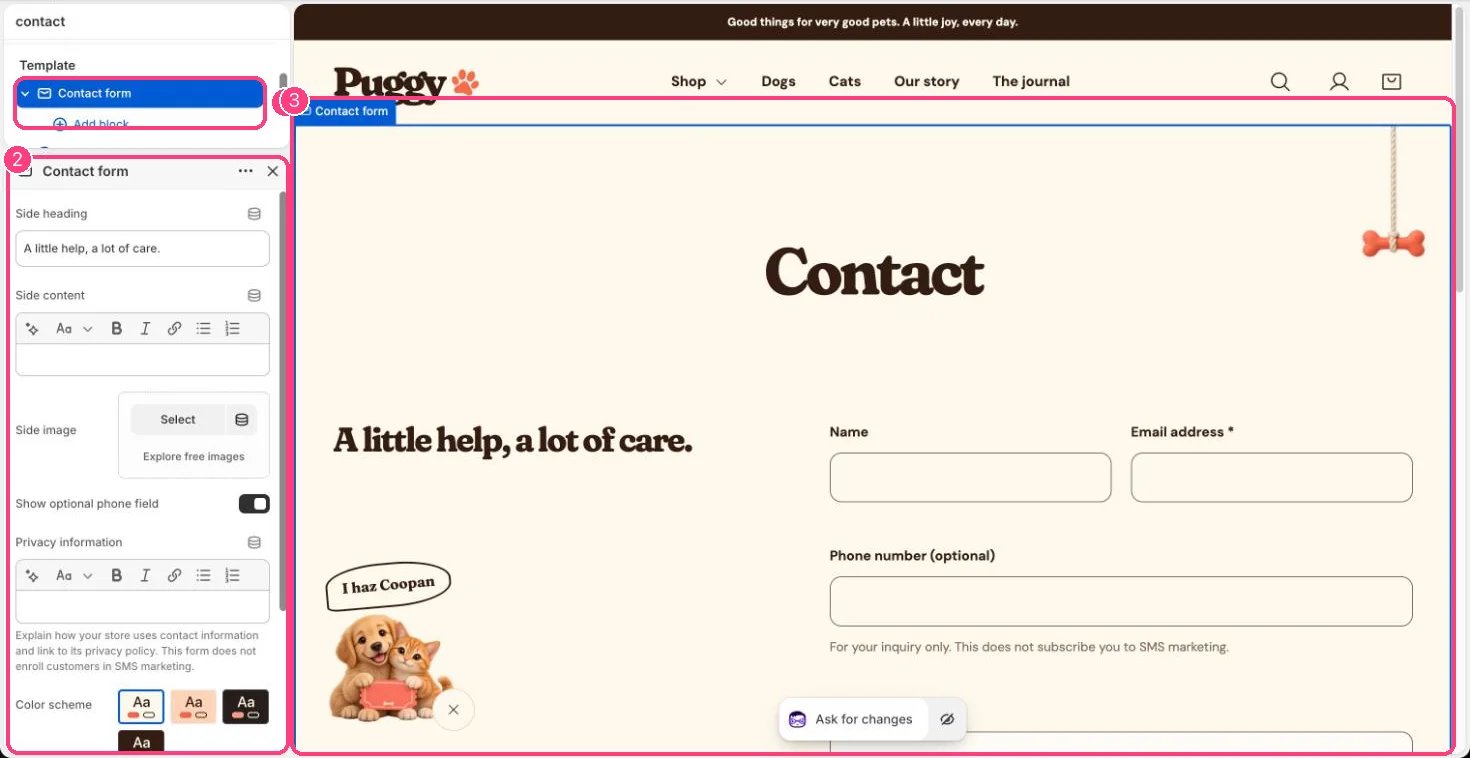
In the theme editor: 1 the section in the sidebar · 2 its settings · 3 the section in the preview
Edit it
- The page title and text come from the page in Online Store > Pages.
- Edit Side heading, Side content and Side image.
- Click Add block > Form field. Give each field a different Label, because the label names the answer in your email. A field without a label is skipped.
- For a Dropdown, type the Dropdown choices separated by commas, for example Dog, Cat, Small pet.
- Use Privacy information to explain how you use contact details and link to your privacy policy.
- Up to 20 blocks.