
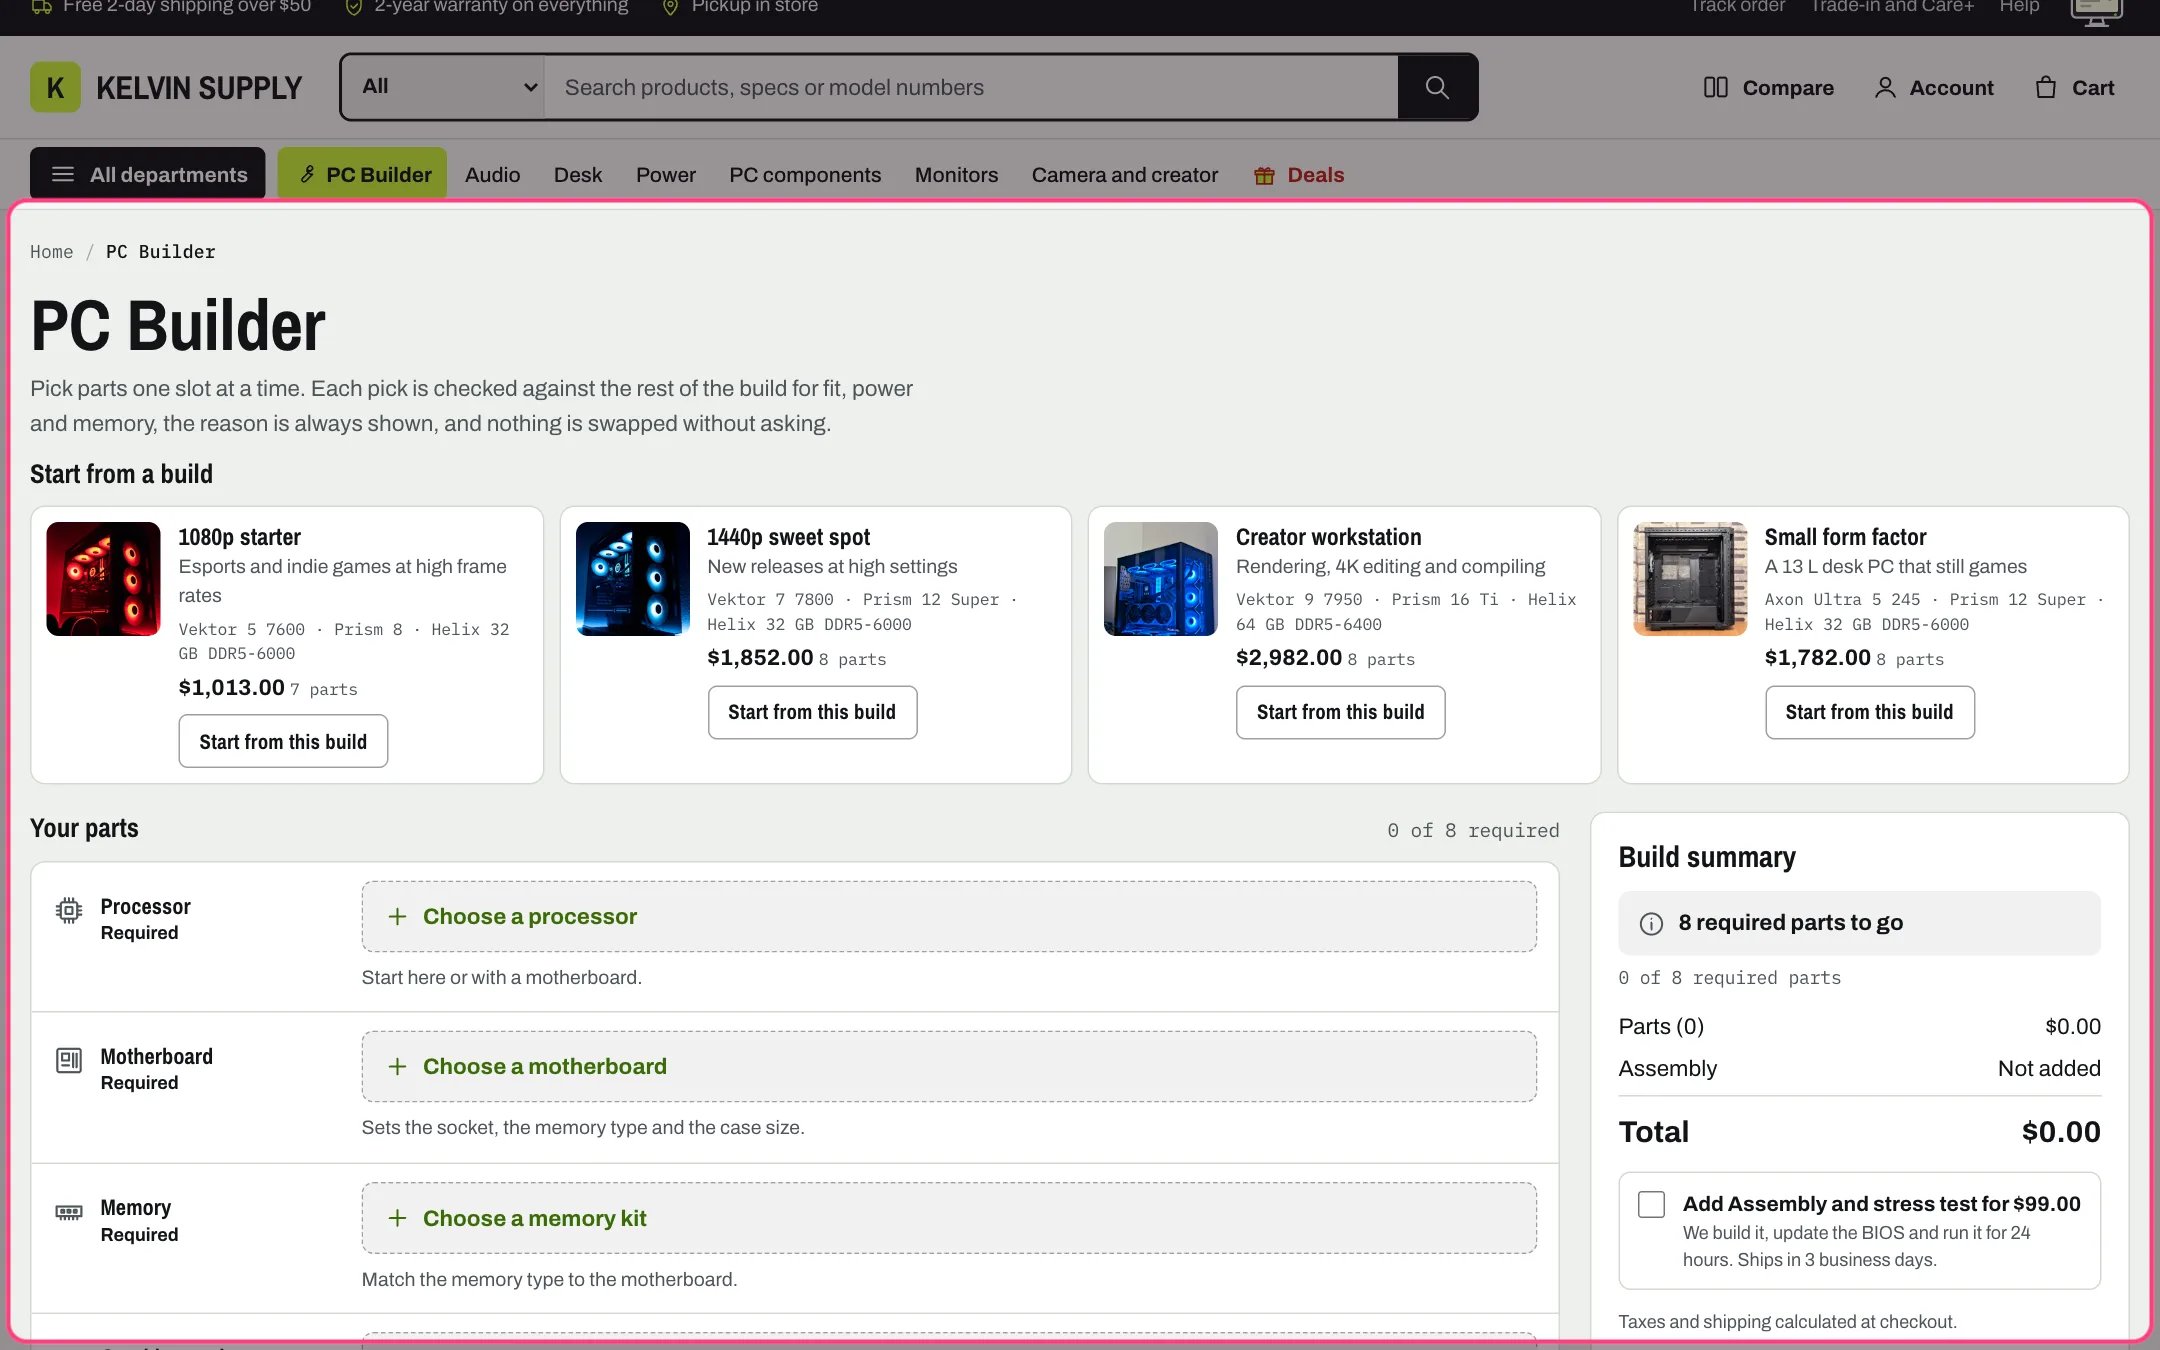
PC Builder, highlighted with the demo content
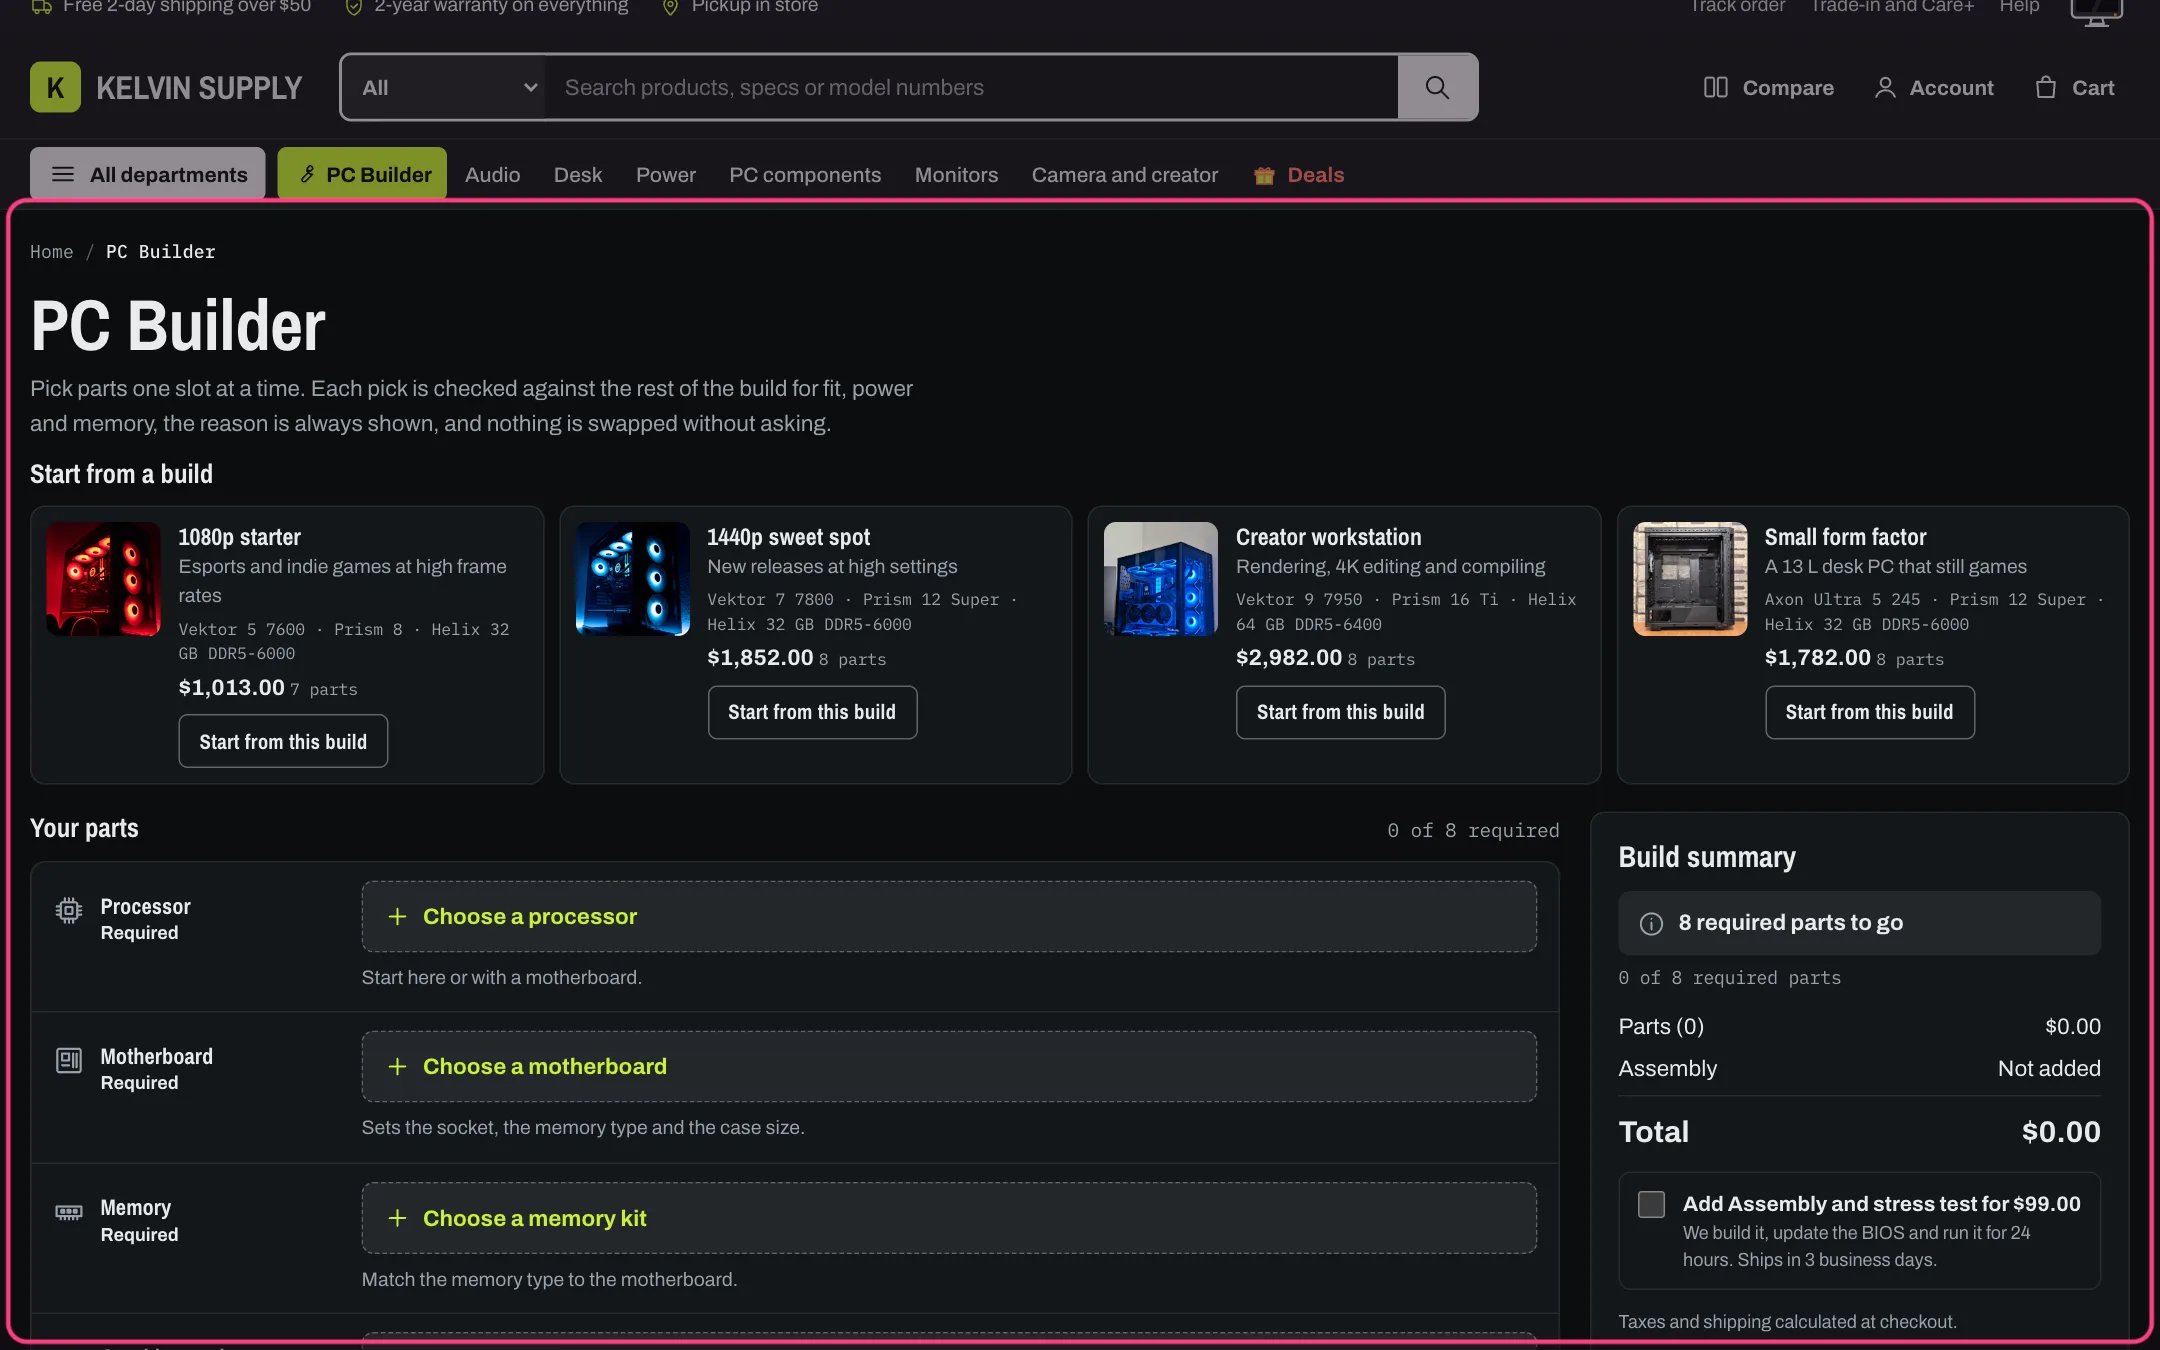
PC Builder in dark mode
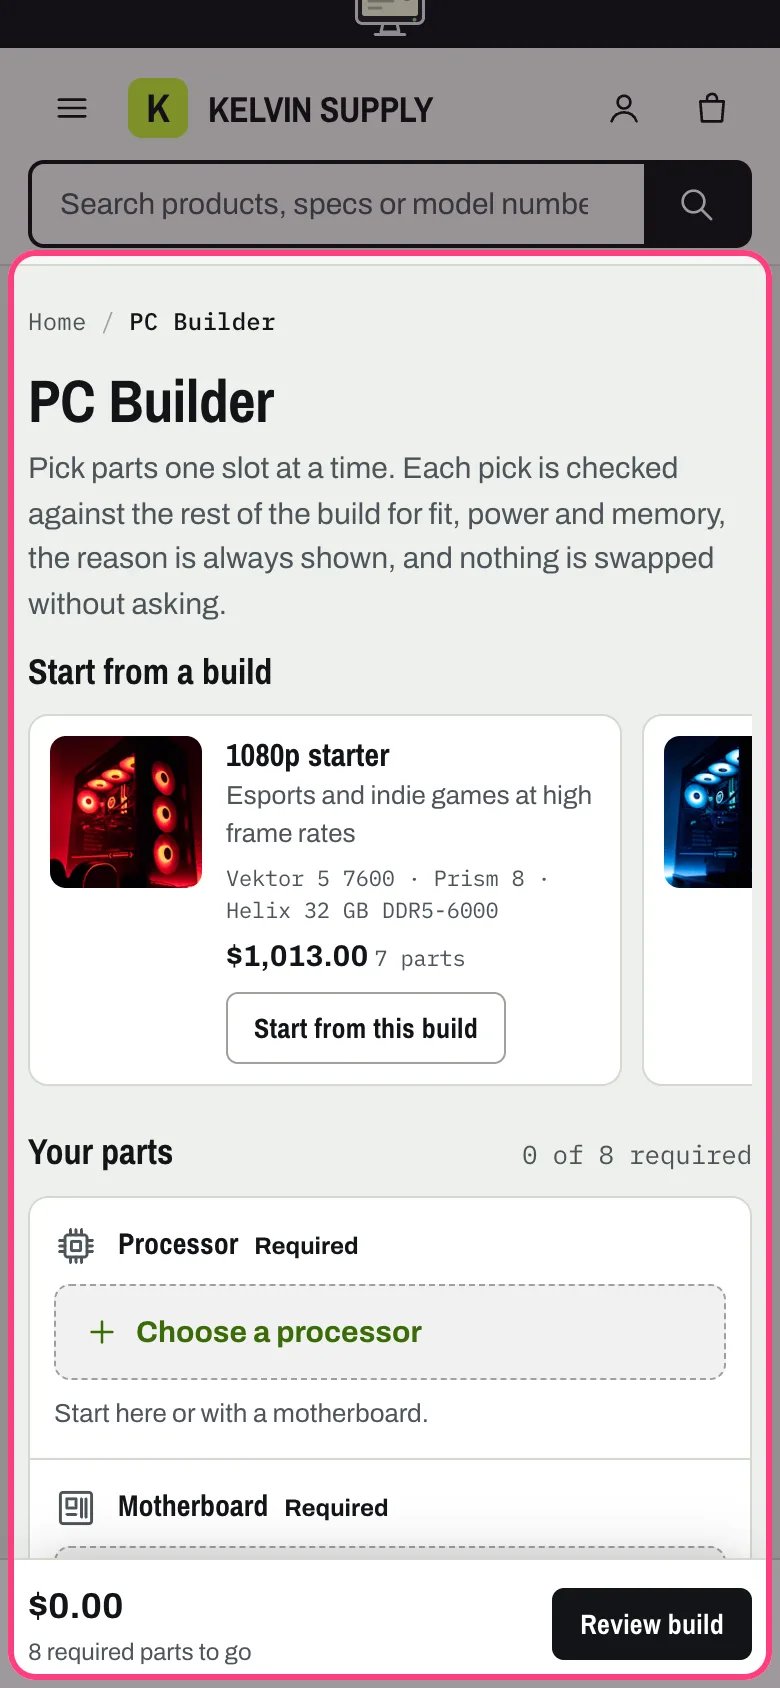
PC Builder on a phone
Where to find it
On the PC Builder page template (page.pc-builder). Create a page in Online Store → Pages, set its template to pc-builder, then choose that page in Theme settings → PC Builder → PC Builder page. In the theme editor choose Pages → pc-builder in the page selector, then select PC Builder. The section can be used once per template.How it works
- Each Slot block is one row: Processor, Motherboard, Memory, Graphics card, Storage, Case, CPU cooler, Power supply, Case fans, Monitor, and Keyboard, mouse and dock. Shoppers fill them in any order with Choose, Change and the remove button. A second block for the same slot is ignored.
- Choose opens the slot’s parts from the side: its collection with a search box, Sort (Compatible first, price, name), a Compatible only switch, a menu for parts with several variants, the price difference to the current part, and the reason any part does not fit.
- Every pick is checked against the rest of the build with the specs metafields of the parts. An Error blocks Add build to cart, a Check asks once before the add, a Note only informs. Each message names the parts and the numbers, and a Fix button offers the part with the smallest price change that clears it. Nothing changes without a click.
- The Build summary shows the status, the required parts chosen (such as 5 of 8 required parts), the power estimate (Estimated load, Recommended and Selected, with What this adds up), the checks, the parts total, sale savings, the optional assembly line, the total, and the Shop Pay line when Theme settings → Product cards → Show the Pay in 4 line is on, Shop Pay is a payment method and the total reaches Pay in 4 minimum price.
- Add build to cart adds every part as its own cart line in one step, with the visible Build property and the hidden _Build and _Slot properties, so the cart can group them. It stays disabled, with the reason under it, until every required part is chosen and no error is left.
- Copy link, Save build, Copy as text, Print and Start over sit under the button. The build in progress is saved on the shopper’s device after every change and comes back on the next visit. Saved builds lists up to 10 named builds, also kept on the device.
- Preset build blocks show as cards under Start from a build: image, name, note, the processor, graphics card and memory, the total of their current prices and a Start from this build button.
- Below 1000 px the summary moves under the parts and a bar pinned to the bottom of the screen shows the total, the status and Review build. The compare tray is hidden on this page at those widths so it never covers the bar.
- Messages are announced to screen readers, each level has an icon and the word Error, Check or Note (never color alone), and focus returns to the slot after a pick. Without JavaScript the page says the builder needs it and links to your collections.
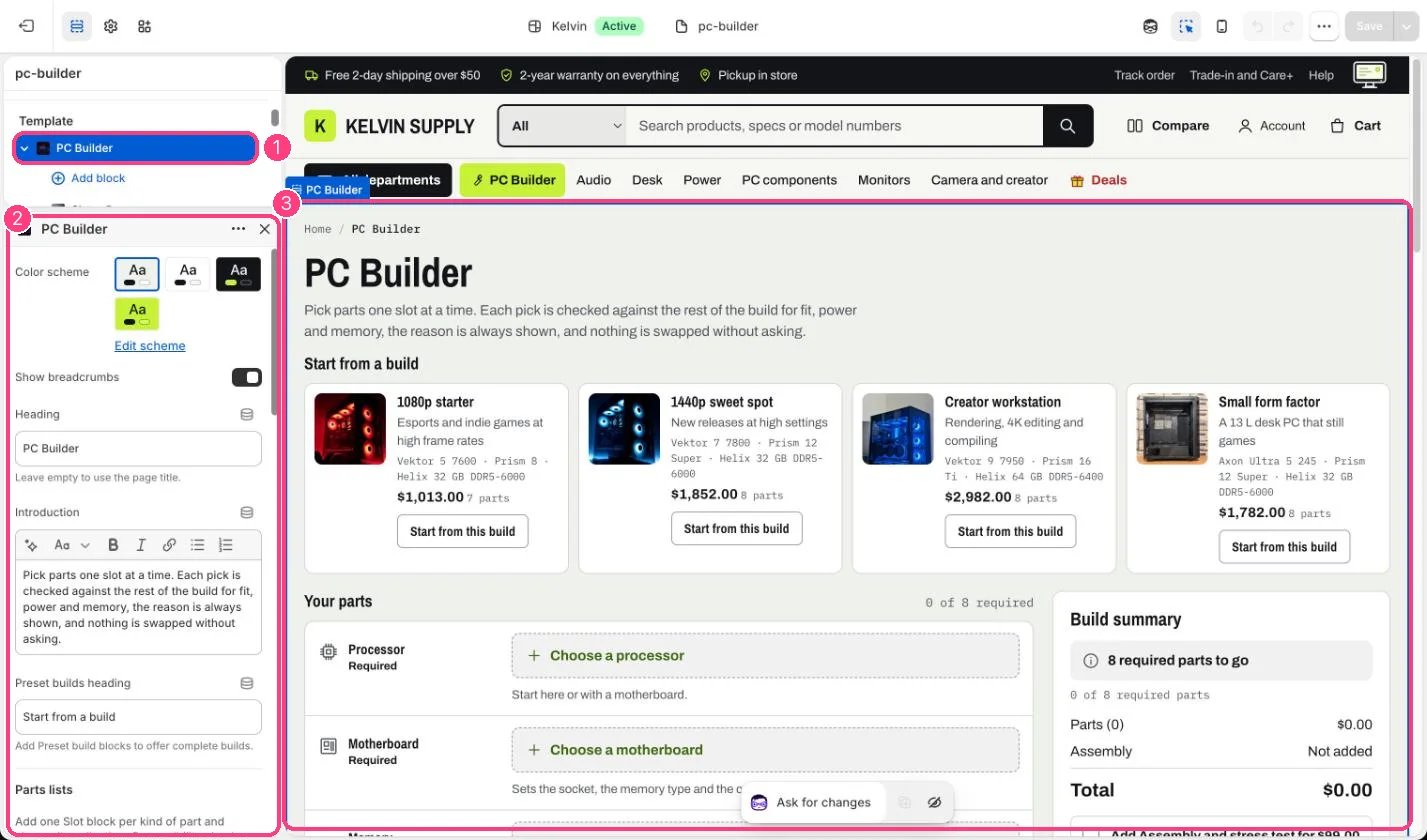
In the theme editor: 1 the section in the sidebar · 2 its settings · 3 the section in the preview
Edit it
- Set Parts collection on every Slot block you use. A slot without a collection tells shoppers No parts in this category yet, with a link to your contact page. Delete the Slot blocks for parts you do not sell.
- When one collection holds two kinds of part (coolers and fans in Cooling, for example), type a tag in Only parts with this tag on each of those slots, exactly as it is written on the products.
- Fill Spec columns with specs metafield keys, separated by commas, for the short spec line under each part, for example cores, socket. A product’s specs.summary metafield replaces it.
- Offer I already have this is on for the graphics card, storage, case, CPU cooler and power supply; untick it where you only sell complete builds. Most parts in this slot allows more than one part, such as two memory kits or four drives.
- Choose an Assembly product to offer your build service as a checkbox in the summary, described by Assembly description. Select assembly for new builds ticks it in advance.
- Fill Build discount note only to describe an automatic discount you have created in Discounts. Leave it empty to show nothing.
- Add Preset build blocks with a Name, Note, Image and up to 12 Parts each.
- Fill the build specs on your parts: the PC Builder guide lists every metafield the checks read.
Settings
Parts lists
Power estimate
Assembly and cart
Page sections
Blocks
Add a block with Add block under the section in the sidebar; drag blocks to reorder them.Slot
Preset build
On install the 11 Slot blocks have no collections and there are no presets, so every slot is empty until you connect your collections.Each slot lists up to 500 products of its collection. Parts lists are kept in the shopper’s browser tab for 10 minutes, so a new price can take that long to show in the list; the cart always uses Shopify’s current price.Builds stay in the shopper’s browser on that device. Nothing is sent to an outside service, and no app is needed.A preset card’s price counts every part at its current price, sold out or not. Sold-out parts are left out when a shopper loads the preset, so keep preset parts in stock.